
387 words
2 minutes
Linux内核调试(1)
源码获取
首先拖源码与补丁
wget https://cdn.kernel.org/pub/linux/kernel/v4.x/linux-4.4.1.tar.gzwget https://cdn.kernel.org/pub/linux/kernel/v4.x/patch-4.4.1.xztar zxvf linux-4.4.1.tar.gzxz -d patch-4.4.1.xz | patch -p1 # 这里没有输出代表执行成功内核编译
cd linux-4.4.1make x86_64_defconfig # 加载默认configmake menuconfig # 自定义config要进行打断点调试,需要关闭系统的随机化和开启调试信息:
Processor type and features ---> [ ] Build a relocatable kernel [ ] Randomize the address of the kernel image (KASLR) (NEW)
Kernel hacking ---> Compile-time checks and compiler options ---> [*] Compile the kernel with debug info [ ] Reduce debugging information [ ] Produce split debuginfo in .dwo files [*] Generate dwarf4 debuginfo [*] Provide GDB scripts for kernel debugging之后进行编译
make -j32如果遇到编译错误cc1: error: code model kernel does not support PIC mode,则在MakeFile中的KBUILD_CFLAGS选项中加入-fno-pie
之后在进行make即可。
加载文件系统镜像
这里可以使用syzkaller的生成脚本
cd linux-4.4.1sudo apt-get install debootstrapwget https://github.com/google/syzkaller/blob/master/tools/create-image.sh -O create-image.sh # 这里我得到的是一个html页面,最终笔者自行访问页面复制了相关的代码。chmod +x create-image.sh./create-image.sh # 这里会在当前目录生成 stretch.img启动qemu
这里的-nographic以及-s一定要加,执行命令后会启动生成的linux系统,并得到一个shell,这里可以不指定-net参数,默认会有一个NAT的网络,可以访问外网。
cd linux-4.4.1 &&sudo qemu-system-x86_64 \ -s \ -kernel ./arch/x86/boot/bzImage \ -append "console=ttyS0 root=/dev/sda earlyprintk=serial"\ -drive file=./bullseye.img,format=raw \ -nographic -pidfile vm.pid \ 2>&1 | tee vm.loggdb调试
cd linux-4.4.1gdb vmlinuxgef➤ target remote:1234 # 连接到远程调试接口# 后面就可以正常进行调试了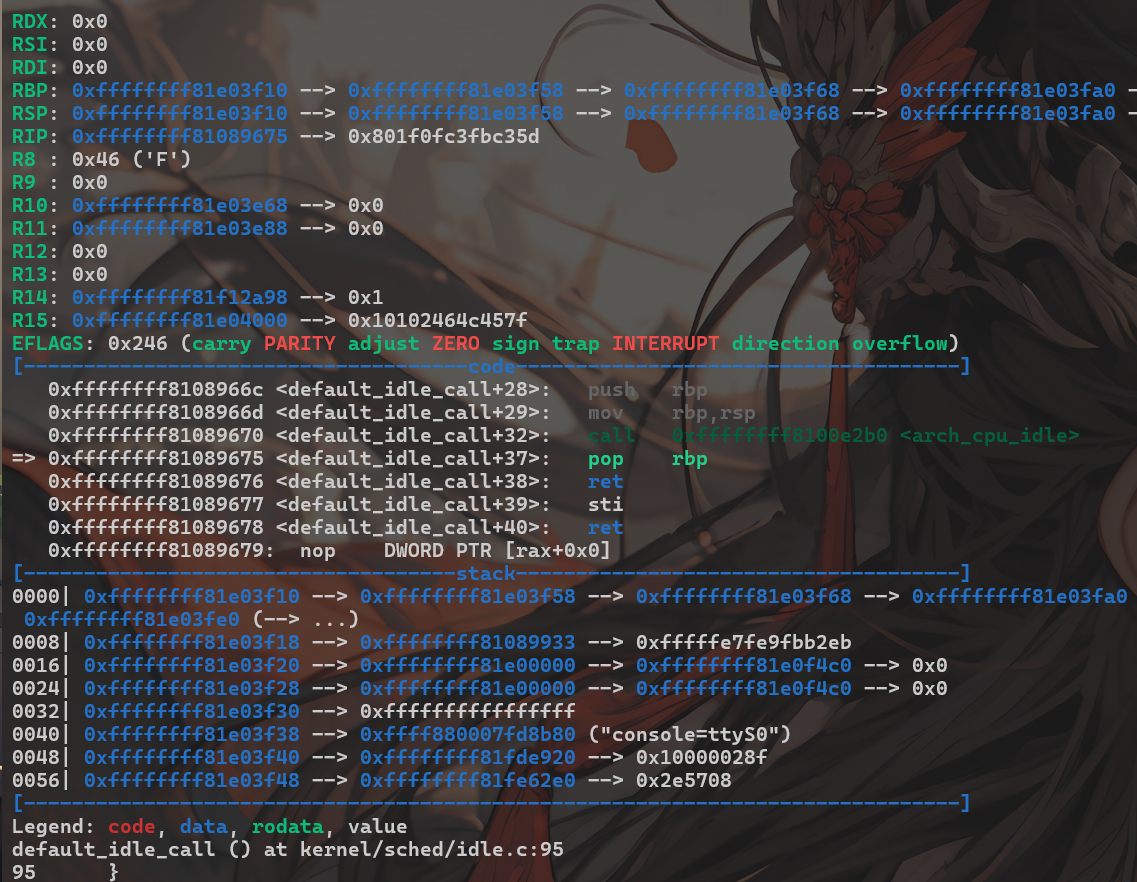
Linux内核调试(1)
https://fuwari.vercel.app/posts/linux内核调试1/